To access APIL’s Database repository, go to the APIL database website (<a href=blah>here</a>), or to access your lab’s Database repository, to the website associated with your lab’s database (or if running locally, go to http://localhost:8000/uat/1)
UltraBase usage instructions
Menu Items
Download
Use these tools to get the images that you have selected with the buffer, downloaded over the network to your machine.
Tags
Use these tools to manipulate the tags and experiment labels on images you have selected. These tools can also be accessed with the right-click menu.
View
No tools present as of this writing.
Data
Note, these tools are only available when accessing the server locally
Add and remove projects and images from the database. To add images in the APIL format (see below) click add standard project. Enter the name of the project and the language of the data, and enter the direct path to the directory containing the video folders.
APIL Data Format: One folder contains all of the data for a particular experiment. Each video has a subdirectory in this folder. The video folders are labeled
subjectnum[abc]_YYYY-MM-DD. Inside each video folder is a folder labeledframeswhich contains each frame of the video, and the accompanying trace, if one exists. The frame images are in the formframe-#######.png, and the traces are in the formframe-#######.png.TRACER.traced.txt, where ####### is the frame number in the series of images that make up the database, and ‘TRACER’ is the id of the person who hand-traced the images.
Search Box

These search fields can be used to query the database for images and traces that match a particular request. Most of the options should be straightforward.
Use the segment box to specify a particular phoneme to search for. When this tool is used, the database returns a set of images contained by the segment (in red) and the set of images that partially contain that segment (in purple) according to the textgrid.
The context box does not function as of this writing, but it will allow you to provide a regular expression of one or more segments, and display images in that context.
Table and Buffer
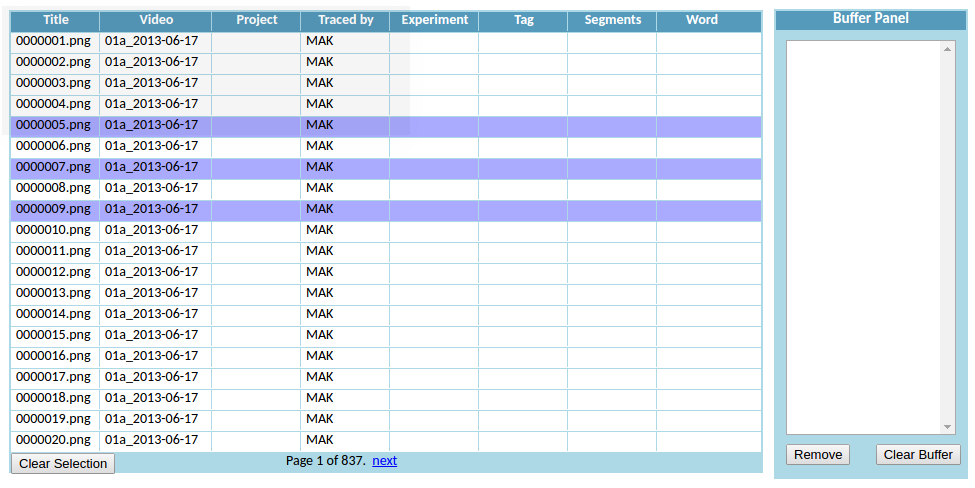
The table populates with the result of your search. You can select one or more images in the table, and using the right-click menu, manipulate their tags or experiment information or move them to the buffer. Use the “add results to buffer panel” button to move all the images returned by the search to the buffer.
The buffer is your workbench for moving and labeling images. If you want to download images, or tag them en masse, you must first put them in the buffer. You can use the “remove” and “clear” functions to remove images from the buffer once you are done working with them.